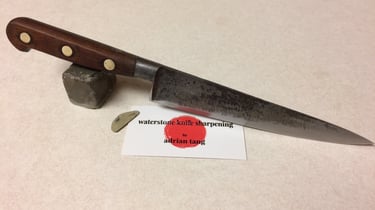
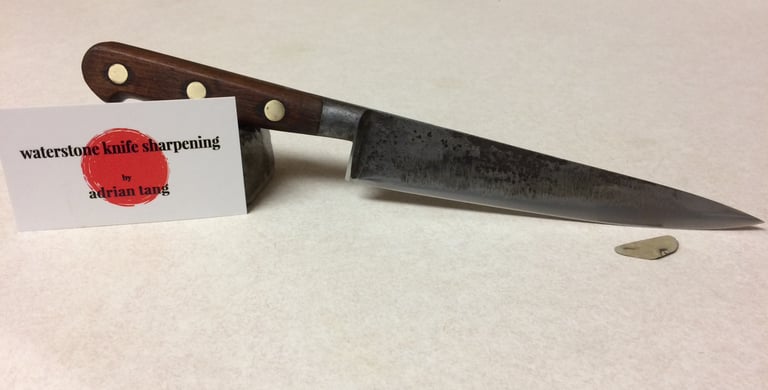
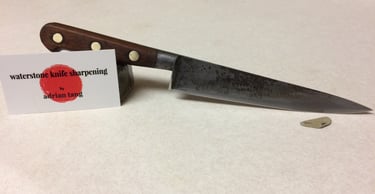
Sab Restoration
Sabatier Chef knife gets a second chance
RESTORATION
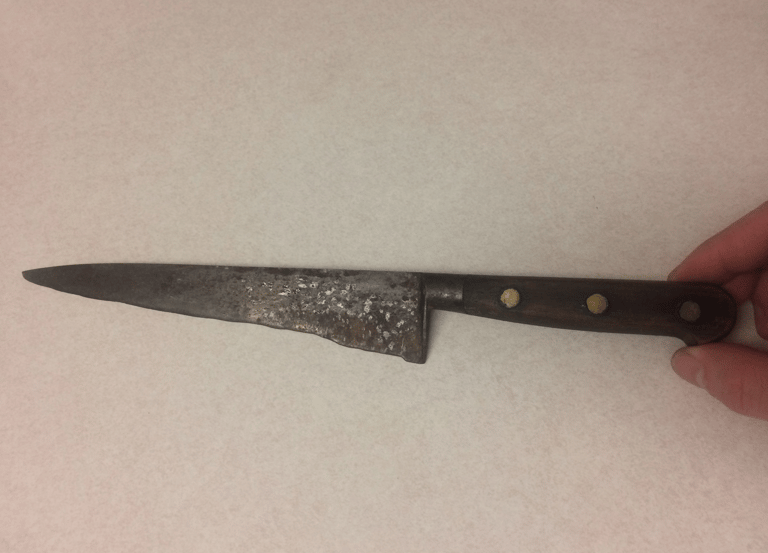
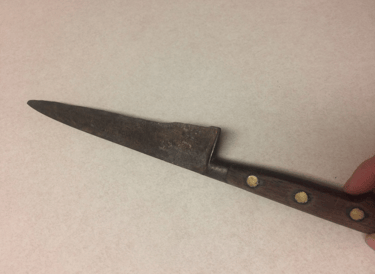
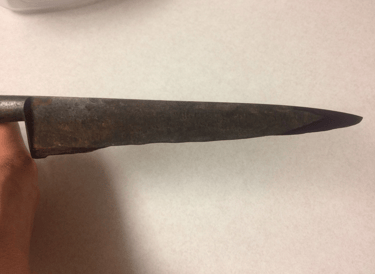
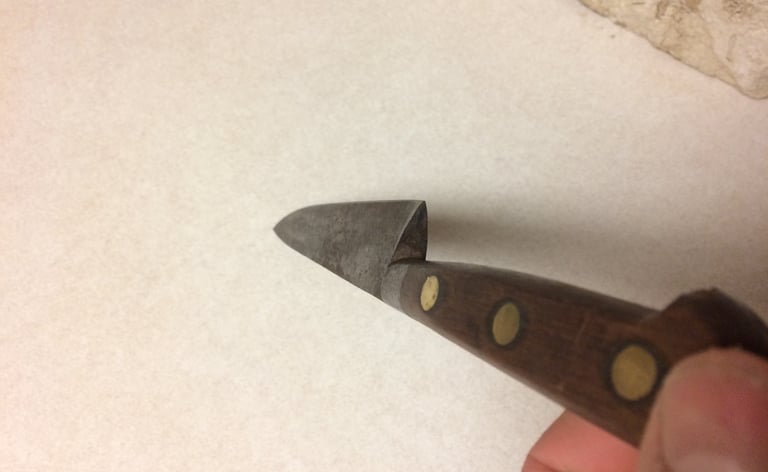
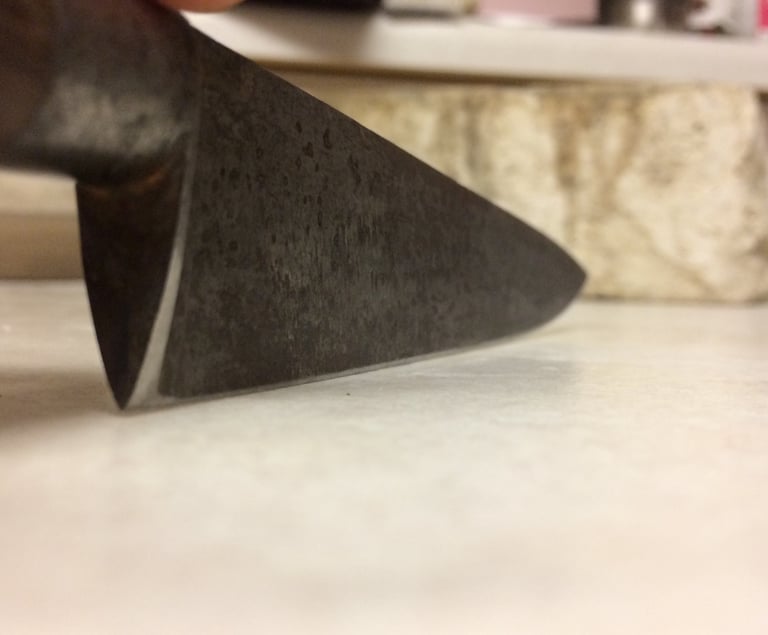
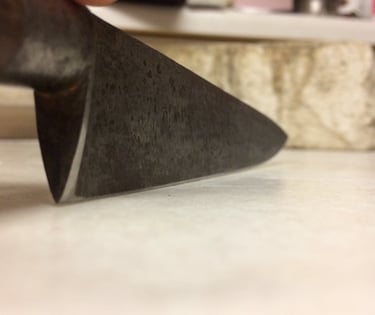
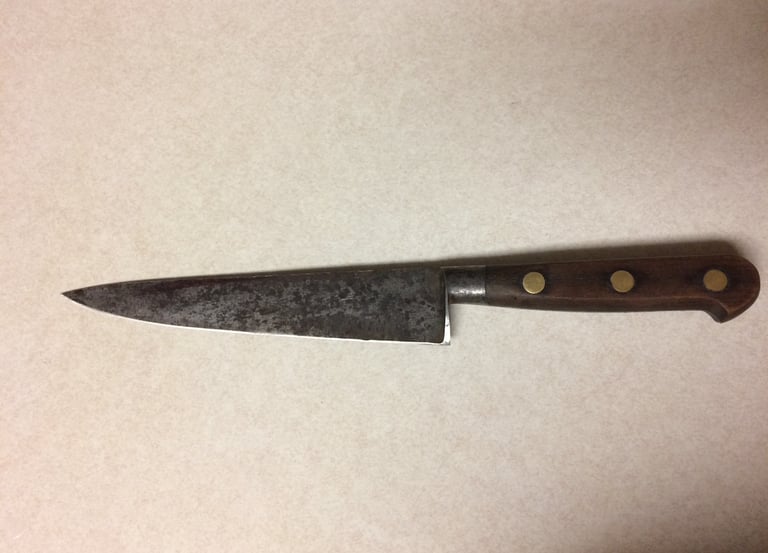
Here is an old Sabatier for restoration. This is quite the unique specimen. Touting a wood handle, brass rivets, and all the qualities of a knife that belongs to someone who knows their way around a kitchen. The initial impression from this piece evidently shows this knife's intended use as a chef knife for its entire lifespan. Quite amazing how many sharpening sessions this must have endured and meals it was used to create. Note the heel of the knife where it was left to original length. This was to ensure a comfortable pinch grip at the blade without exposing finger tips to the sharp edge. Though the blade cannot cleanly chop through ingredients on the board, it is still 100% functional when slicing using a scoring motion with the tip down at the cutting board. The geometry is far from original, but an adjustment in technique allows this knife to still hold its own in the kitchen for the purpose and role as a chef knife.
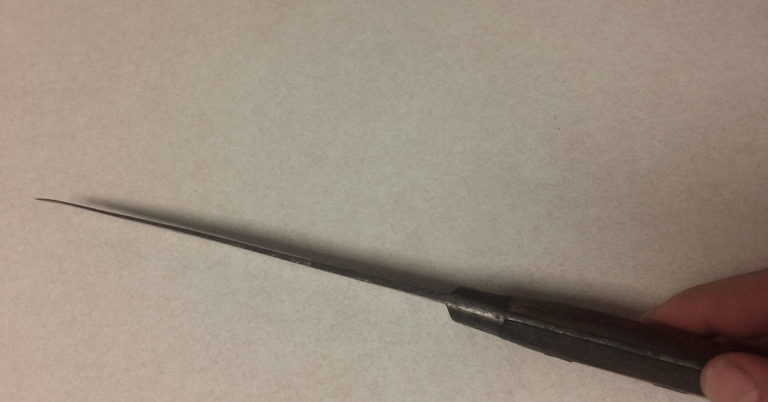
This project was very labor intensive as the knife first needed to be straightened. It carried an 'S' curve through the middle of the blade with a slight right-hand twist. I was able to straighten it true, though there was some stretching of the blade metal which created excess surface area and resulted in a 'bulge' appearance toward the spine.
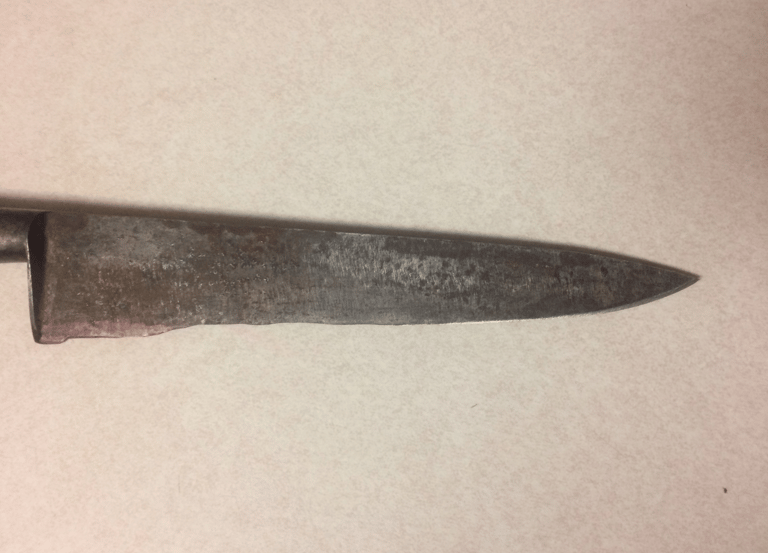
I cannot say what the original length of the knife was. The bolster length seems to suggest the knife blade was about 10 inches long. A general idea for the new profile is drawn out and shaping can begin. The large hole in front of the heel is the focal point for the new profile. Now that the tip position is established, shaping the knife can begin. Having a solid shape to the tip allows for a better idea of how much of the heel needs to be removed in order to close the hole while retaining as much heel height as possible.


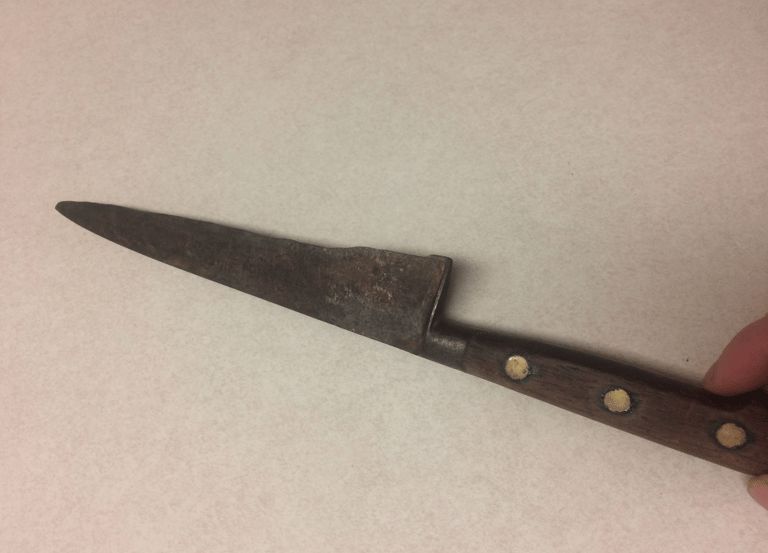
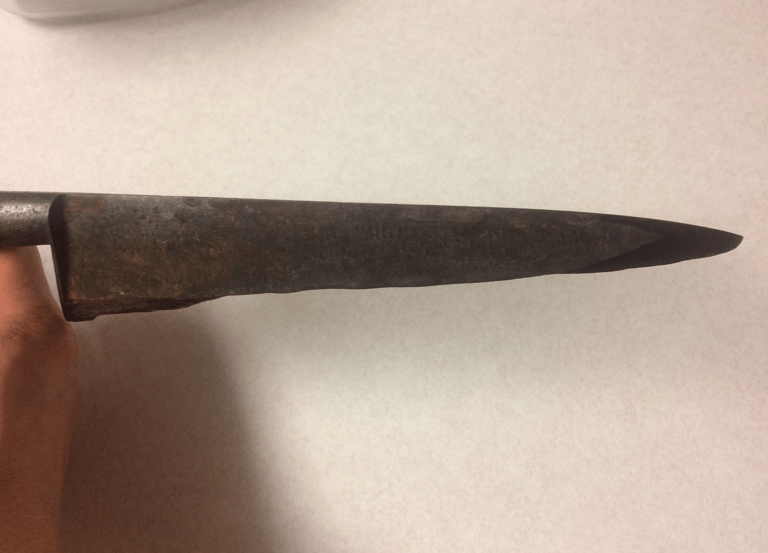
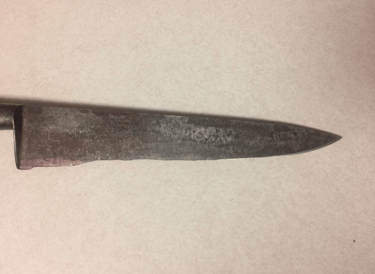

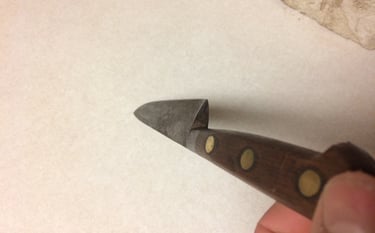
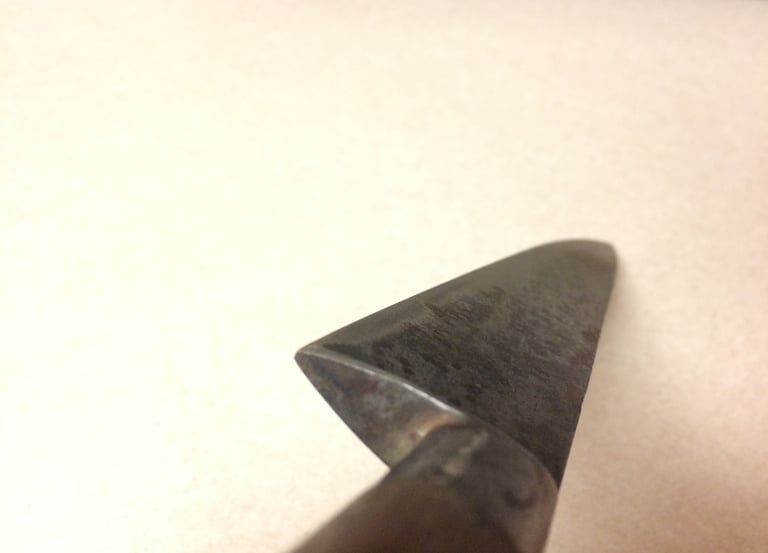

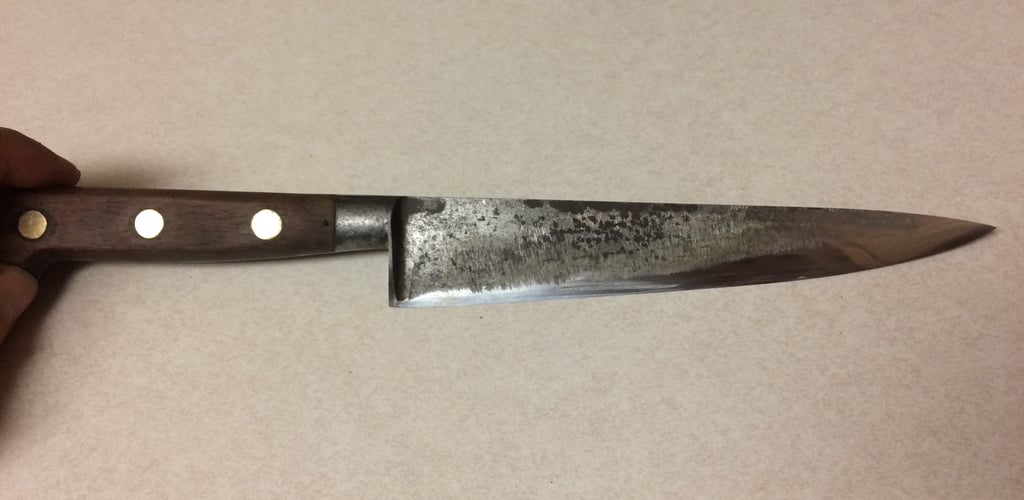

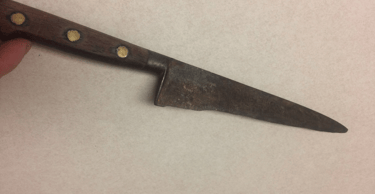
Now that the tip section has a rough shape, the heel and bolster needed to be shaped to remove the "hole" in the blade edge. Once the heel has been brought up and enough bolster ground away to expose the edge, the thinning process can begin.
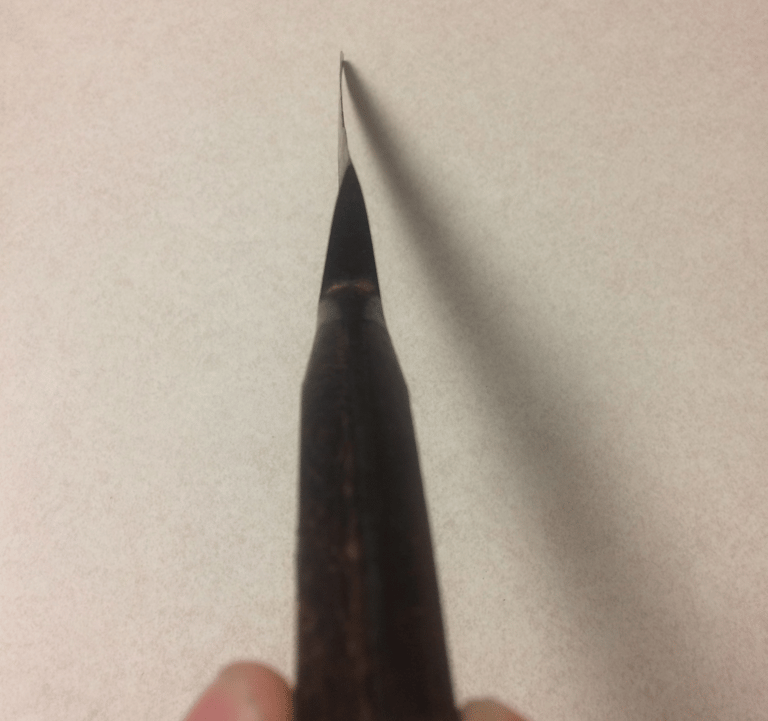
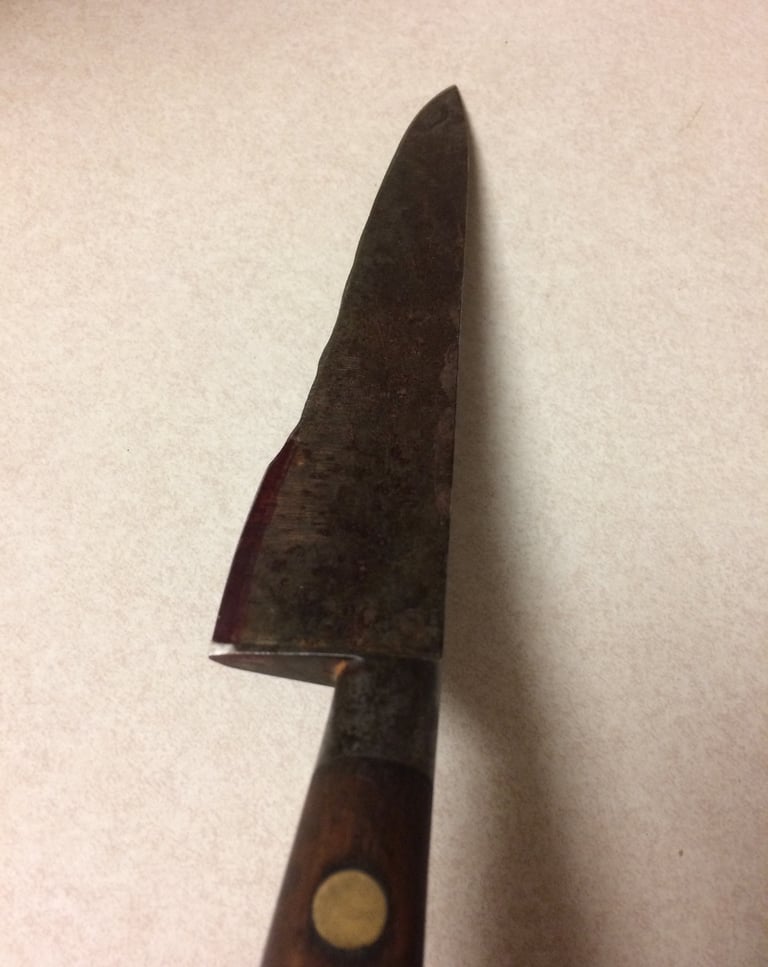
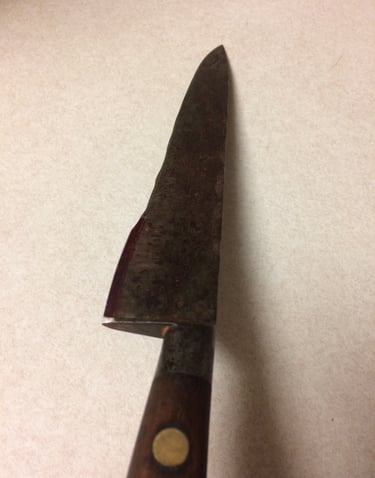
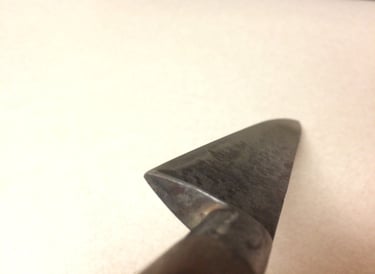
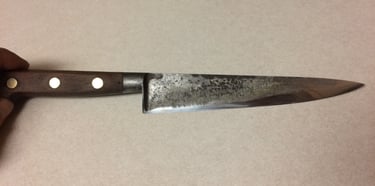
The thinning began with establishing the cutting edge to create a true 50/50 edge geometry relative to the spine. A quick session on the Nubatama 60 grit then onto the Nubatama 150 to complete the rough shaping. I left the hammer marks in the spine and most of the marks from the previous thinning from the original owner. I felt that these should remain a part of the knife as the markings are a timeline of sorts; a perpetual log or diary of meals prepared, proof of the hard work and tasks this knife has endured, and to retain those memories created though such experiences for the owner to remember from this passage of such an old heirloom tool.
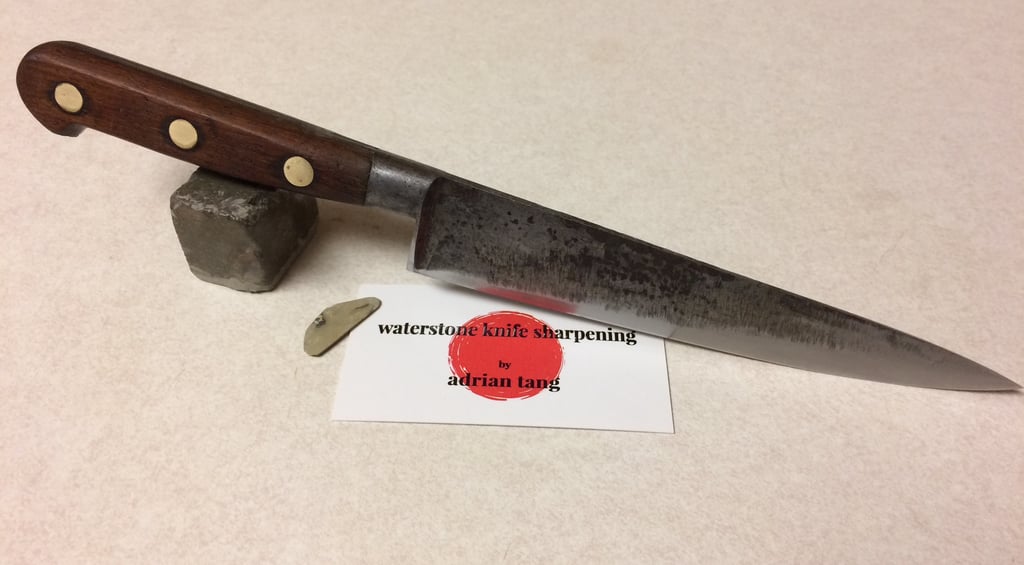
The thinning turned out well as I applied a slightly convex shape below the patina section. A synthetic progression from 150 grit through 2000 grit was given to the new blade road. The heavily rusted patina was cleaned using stone mud and baking soda. Not all of the spots were able to come out to create a uniform blade face, though all of the heavy corrosion and rust were successfully removed. A natural stone polish was given to the blade and finish polish was done with natural finger stones. The cutting edge was created with a natural aoto and strop with Narutaki. A terrific satin mirror finish gives this new utility size knife great food release and just a great overall cutting experience. The feedback through carbon steel is unlike any other, especially mono-steel constructions such as this one.
The handle was still in great shape. Just a little sanding to remove the residue and freshen up the brass shows how clean the rivets sit and with a little cleaning and wood butter this handle is ready for another decade of meal preparation. Below are final before/after pics.
Thanks for checking it out!